
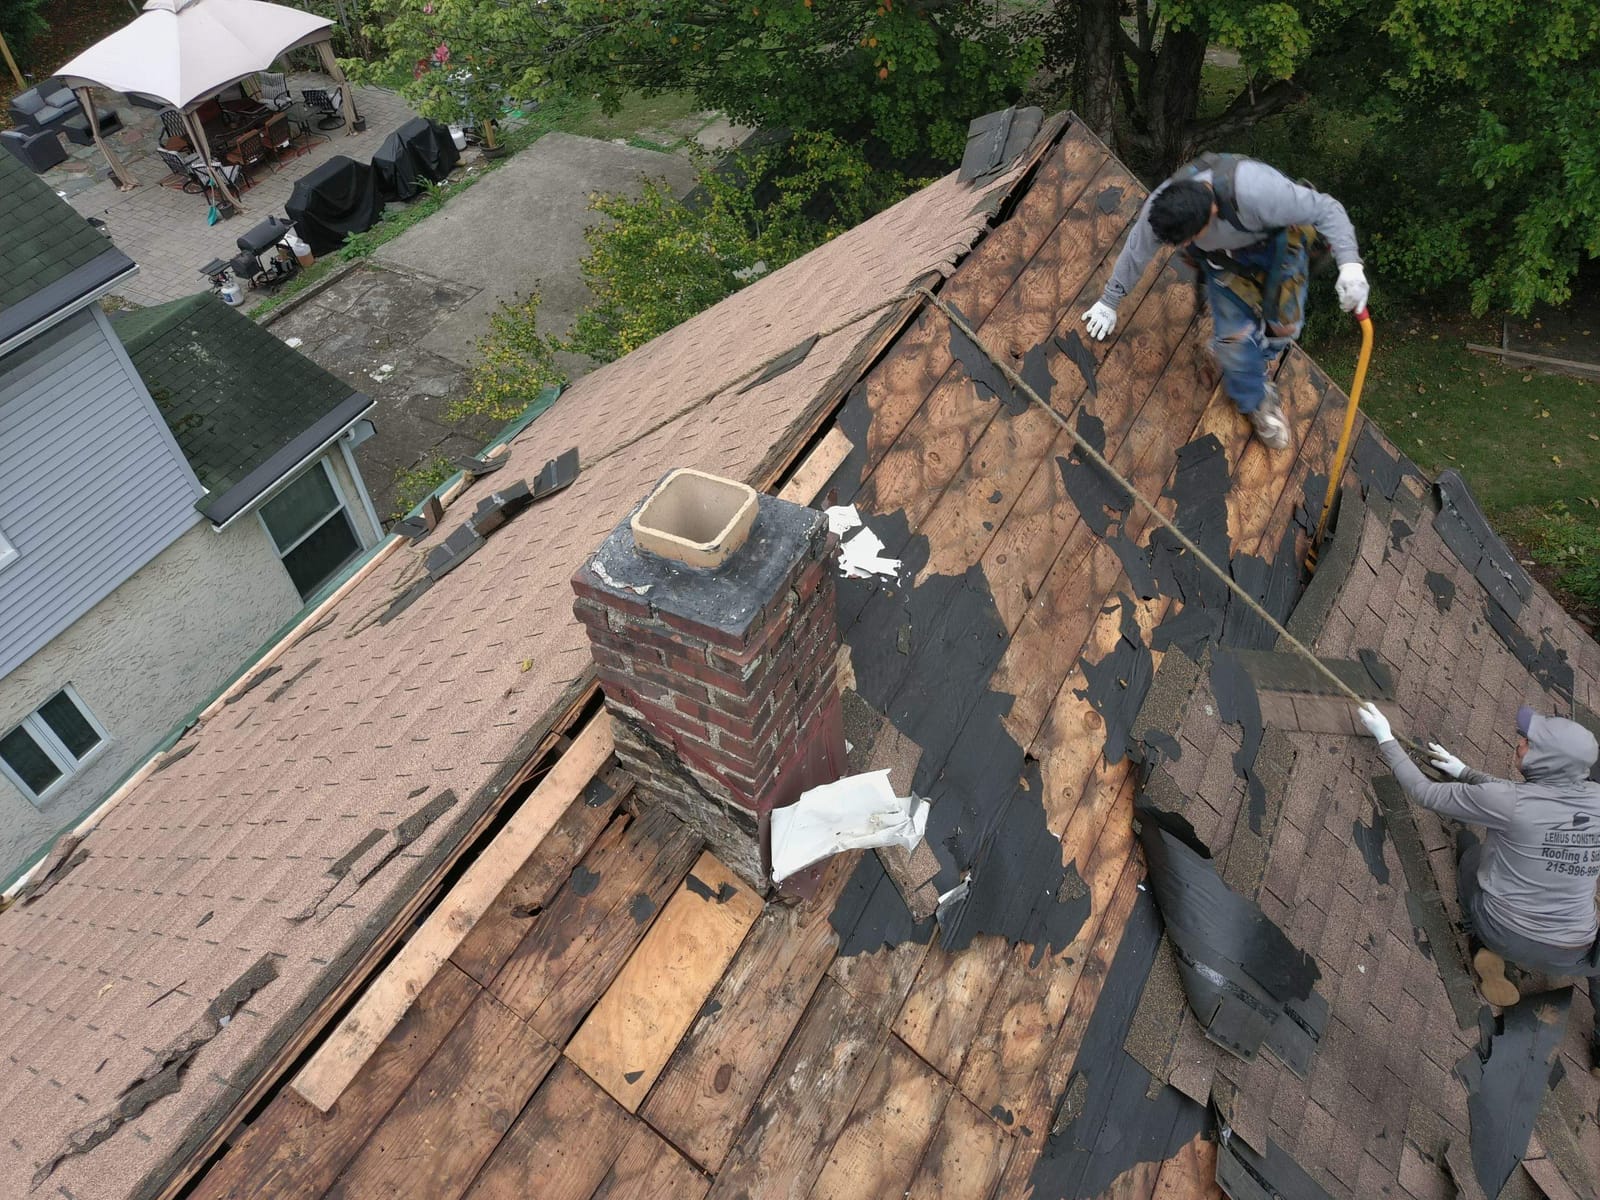
Before the first shingle comes off, take a set of photos that records the roof and everything around it. These "before" photos protect the homeowner and the contractor, and they make insurance and warranty paperwork much easier. Here is a practical shot list.
The house from the ground
- Each side of the house, wide enough to show the whole roofline.
- Gutters, downspouts and fascia, which often get bumped during a tear-off.
- Landscaping, decks, patios, driveways and cars near the drip line.
- Windows and siding below the work area.
The roof surface
Only people trained and equipped to work on roofs should go up. From a safe position, or with a drone where allowed:
- Overall shots of every slope.
- Close-ups of damage: missing, cracked, curled or bruised shingles, and granule loss.
- Valleys, ridges and hips.
- Every penetration: vents, pipe boots, chimneys and skylights, with their flashing.
Inside the house and attic
- Ceiling stains or water damage, with a ruler or tape in the frame for scale.
- The attic decking from underneath where it's visible, including any daylight, stains or soft spots.
- Ventilation: soffit and ridge vents, and any signs of moisture or mold.
During tear-off
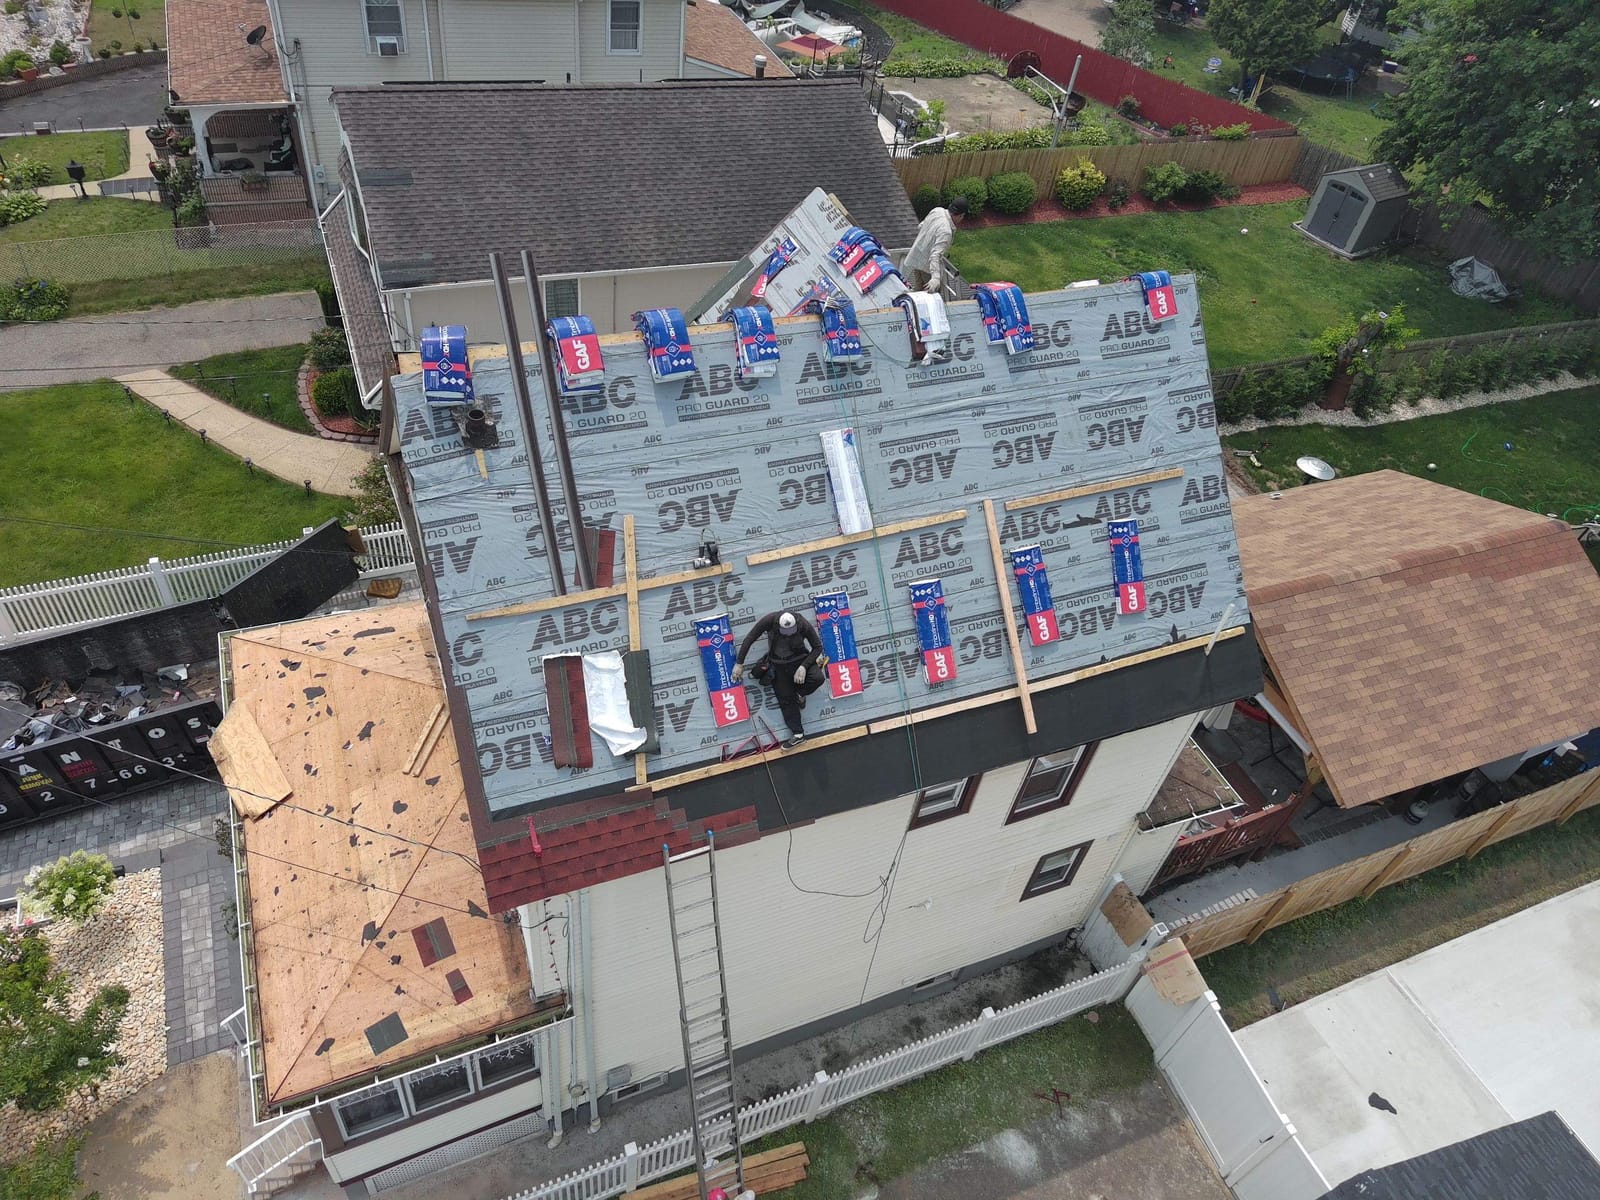
Once the old roofing is off, photograph the decking condition before new underlayment goes down, especially any boards you replace. This is the evidence for any change order.
Tips for useful photos
- Keep the date and time on every photo.
- Shoot wide first, then close-ups, so each detail has context.
- File them by job right away, not days later.
Common questions
About the author
CrewVisto Editors
Guides and news for contractors and homeowners from the team behind CrewVisto.
This article is general information. Codes, prices and warranties vary by town and product; have a licensed contractor look at your situation before you start.
Comments
Loading comments…